
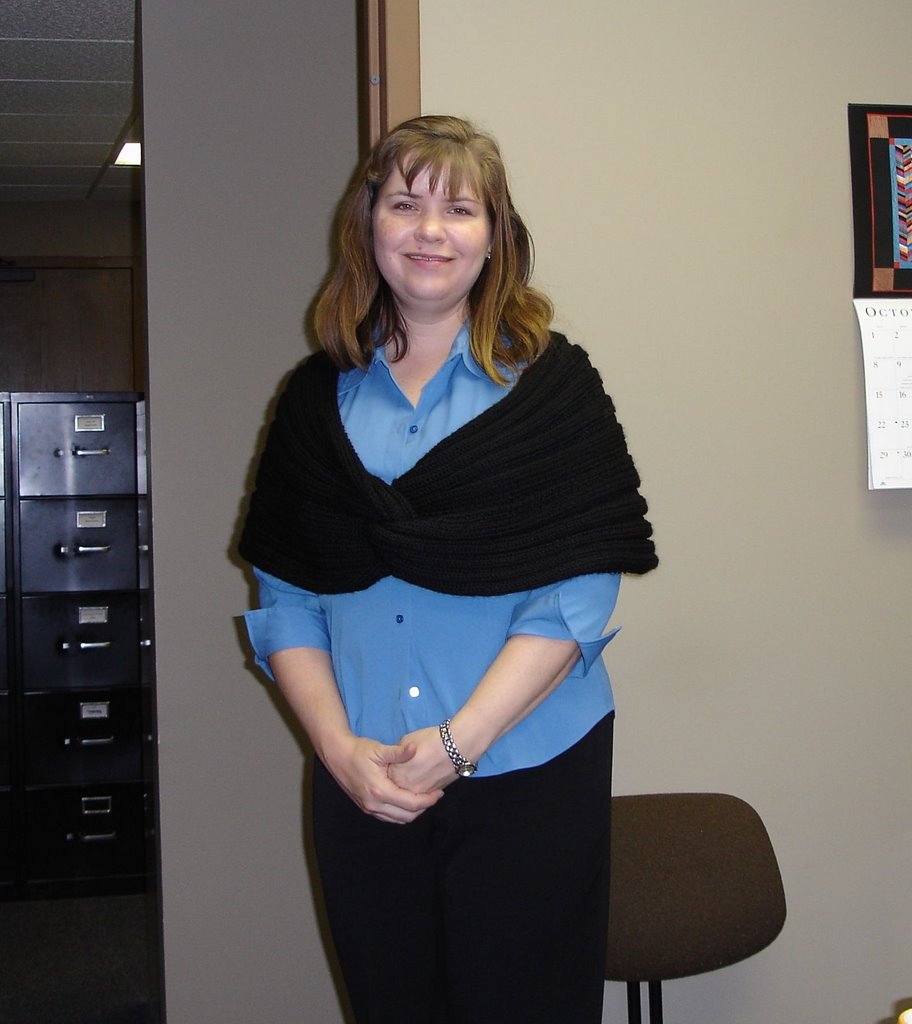
I've had a few questions on Ravelry about my cast on and bind off for Cosima. I had to modify the instructions I found to work with this project, so rather than directing you all to links that don't really work for this application, I thought I'd write down what I did!
First of all, I usually use these instructions at Jigsaw Knits when I'm knitting socks top down. I really like the look it gives the cast on edge, so I wanted to use it on my Cosima. The problem with using these instructions is that my Cosima has a K2P2 rib, and is knit flat rather than in the round.
So here we go with the Cast On:
- Using a contrasting waste yarn, cast on half the number of stitches, plus 1. So if your pattern calls for 100 stitches, you would cast on 51.
- Row 1: Now with your project yarn, *knit 1, yarn over* Repeat from * until 1 stitch remains, knit 1.
- Row 2: *Yarn in front, slip the purl stitch. Yarn in back, knit the yarn over* Repeat from * until one stitch remains, purl 1.
- Row 3: * Yarn at back, knit 1. Yarn in front, slip purl stitch purlwise. * Repeat from * until one stitch remains, knit 1.
- Row 4: *Yarn in front, slip the purl stitch. Yarn in back, knit 1. * Repeat from * until one stitch remains, purl 1.
- Row 5: *Knit 1, slip next stitch onto a cable needle, hold in back. Knit 1. Purl stitch from cable needle, purl 1. * Repeat from * until three stitches remain. Depending on how many stitches you cast on, your last 2 stitches should either be knits or purls. If they should be knit, k2tog, knit 1. If they should be purl, p2tog, purl 1.
- Continue on with your k2p2 ribbing as the pattern calls for. The waste yarn can now be removed at any time.
Now for the Kitchener Bind off. The original instructions I modified for Cosima are here and here - I combined the two.
About 3 rows before you are ready to bind off, prepare as follows:
- Row 1 (Right Side): *Knit 1, slip next knit stitch to cable needle and hold in front. Purl 1, Knit 1 from cable needle, purl 1.* Repeat across.
- Row 2: Knit the knit stitches, and slip the purl stitches with the yarn in front.
- Row 3: Repeat row 2.
- Cut the yarn, leaving a length 3-4 times the width of the project to bind off with. Take two smaller needles and transfer the knit stitches onto own needle and the purl stitches onto the other. Thread a tapestry needle onto the yarn.
- Hold the needles in your left hand with the purl stitches on the back needle and the knit stitches on the front needle. The working yarn should be coming from the purl stitches.
- Insert the tapestry needle into the first knit stitch on the front knitting needle as if to purl and pull the yarn through. Leave the stitch on the knitting needle.
- Put your tapestry needle through the first purl stitch on the back knitting needle as if to knit, pull the yarn through, and leave the stitch on the knitting needle.
- Put the tapestry needle through the first knit stitch on the front needle as if to knit, and drop the stitch off the knitting needle. Pull the tapestry needle through the next stitch on the front needle as if to purl, leaving the stitch on the needle.
- Pull the tapestry needle through the first purl stitch on the back needle as if to purl, and drop the stitch off the knitting needle. Pull the tapestry needle through the next stitch on the back knitting needle as if to knit, leaving the stitch on the knitting needle
Repeat steps 3 and 4 until no stitches remain, and take care to keep an even tension on the yarn as you graft the knits and purls together. This bind off is a little tedious, but the end result is so worth it, in my opinion. And for what its worth, I didn't use a cable needle for the cast on or bind off. I'd say it all depends on how well your yarn clings to itself, and your confidence in your abilities :) Hopefully these instruction make sense. Please feel free to ask questions, and I'll do my best to answer them :)


No comments:
Post a Comment